Building a level squat rack for my home gym

I have a squat rack in my garage, and whenever I'd use it, I would feel a bit off-level. When I checked it, I realized it wasn't the rack, but the floor in my garage was at a 1-2° tilt.

Apparently, this is intentional. Building codes require a grade towards the front of a garage so water flows out.
This is great for preventing water intrusion, but terrible for a squat rack. It means one leg is always getting more load, it promotes bad habits, and makes you more likely to injure yourself.
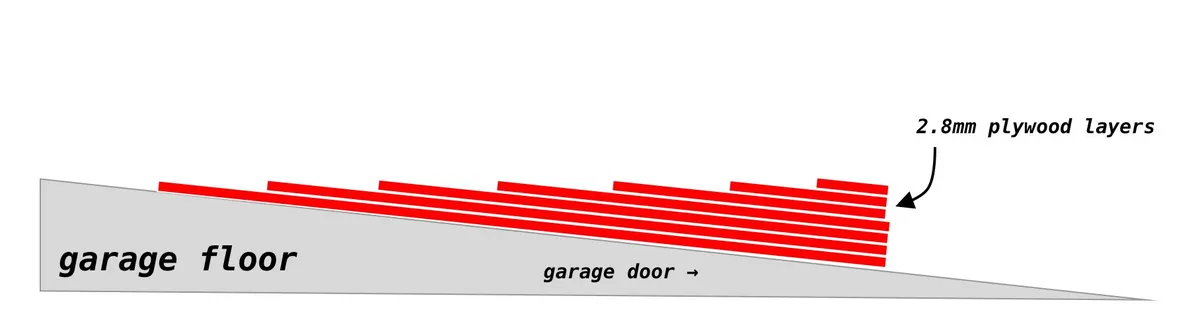
My idea was to create a platform with a level surface for my squat rack. The platform would basically be a wedge that would offset the garage floor.

To make the wedge, I decided to use 2.8mm plywood to create bit of a stair-step pattern. At the tip of the wedge, you wouldn't have any 2.8mm plywood, on the other side I had 10 pieces to bring the whole thing level.
For your garage, just figure out how high you'll have to lift the side near the door, do a bit of math, and figure out how many sheets of plywood you'll need.
Unfortunately, the floor wasn't sloped uniformly. So I laid all the plywood out and adjusted them piece by piece so the top was very close to level at any point.
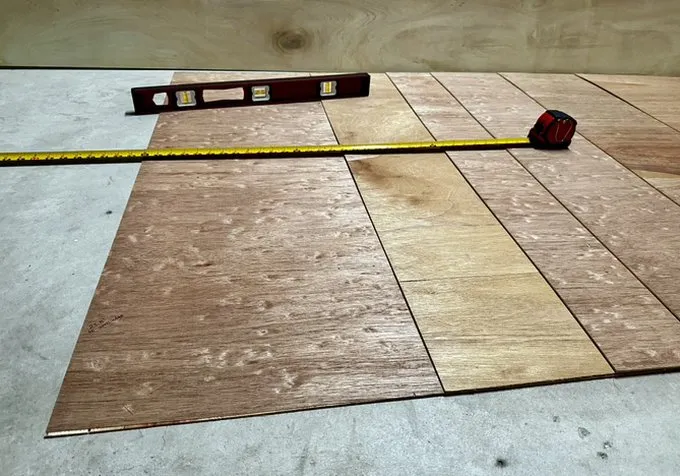
Then I'd mark the boards so I knew what length to cut each piece of plywood. Here's a detail of how it looked on the garage floor.
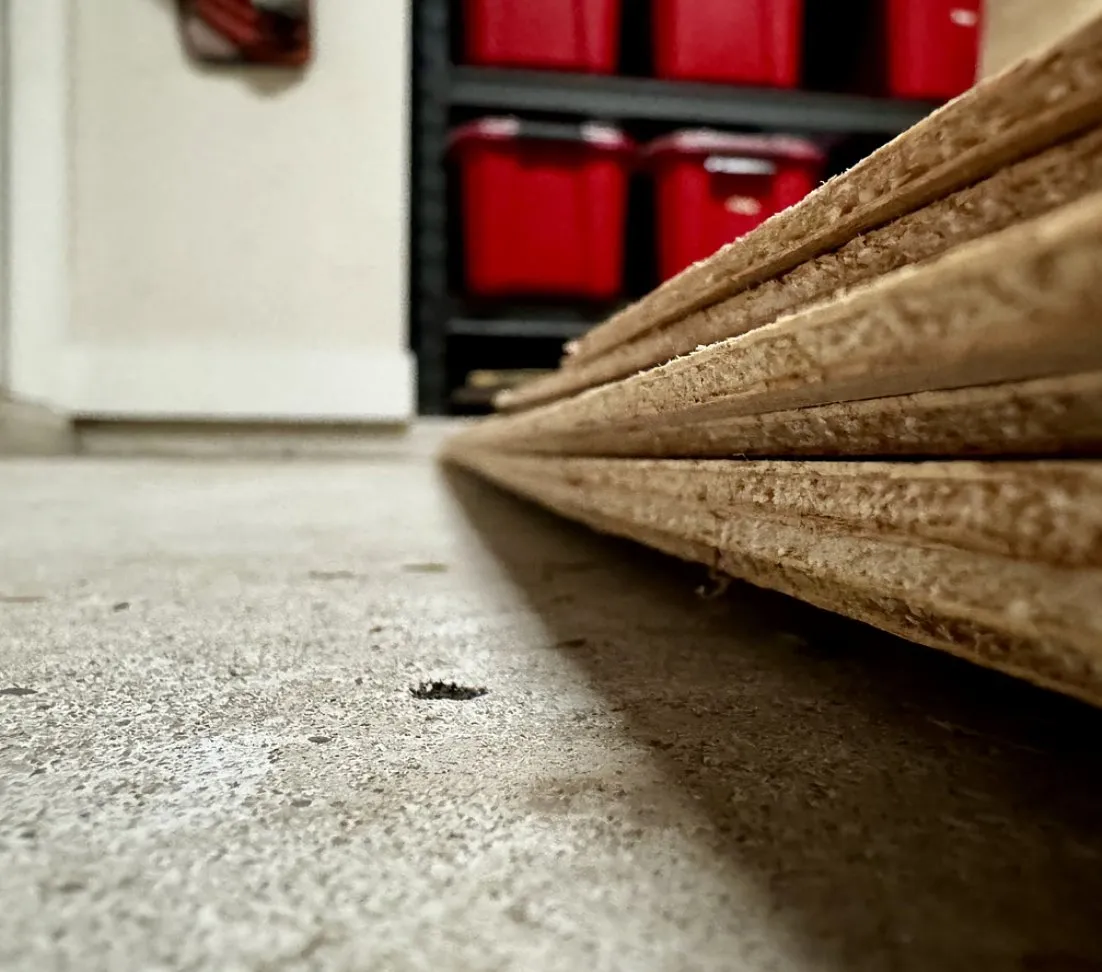
Then I cut them to size and glued them together with liquid nails between each layer.

Once the liquid nails were dry, I added a 1/2" piece of plywood on top to form a level surface.
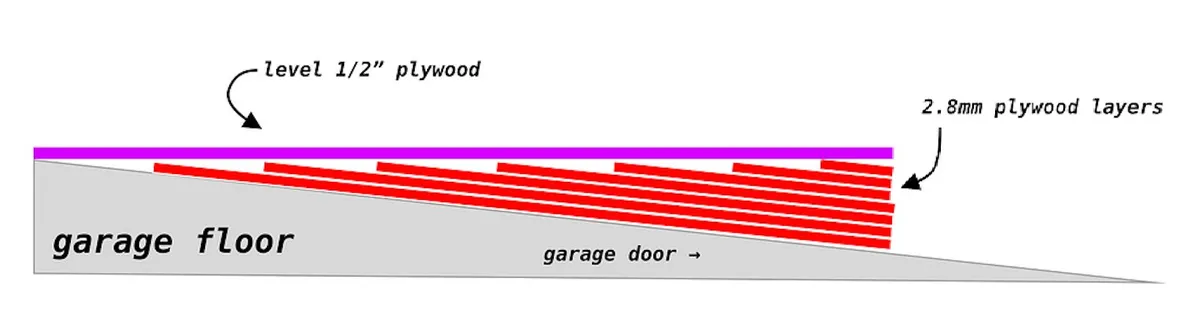
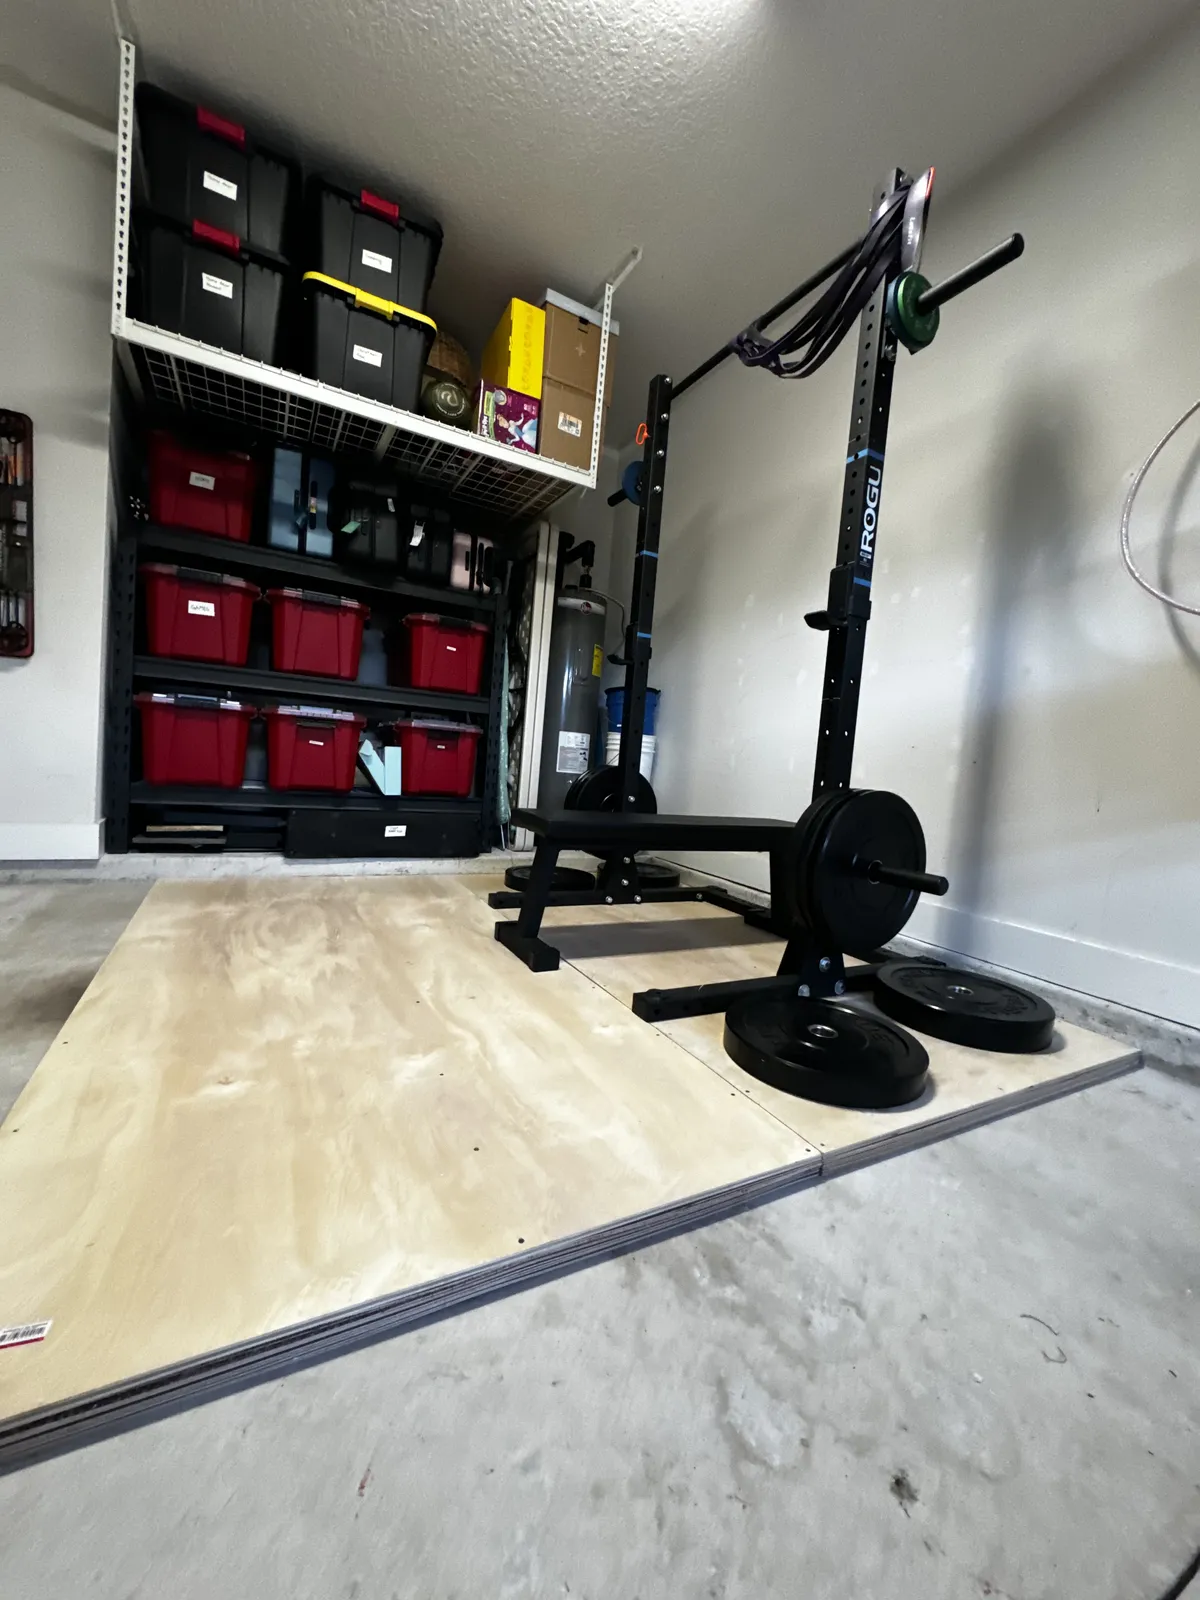
I created two of these wedges to get a perfectly level 8'x8' platform, which gave me more than enough space to squat.
I think all-in it cost ~$300, which is a lot cheaper than an ACL tear.
If you have any questions, or did a similar project, I'd love to hear about it!